Dubai eSIM for Tourists: The Installation Walkthrough That Works

Roami Team
Roami offers reliable eSIM plans, serving over 1 million travelers annually, and supports automatic local network switching to help travelers stay connected globally.
📑 Table of Contents
If this is your first time using an eSIM and the first time in Dubai, the two anxieties overlap in an unhelpful way: you are not sure the phone will work, and you are not sure what to do if it does not. Both are solvable in advance, and neither requires technical confidence. The installation is three taps and a camera scan. The troubleshooting is four settings.
The short answer: buy the plan at home, install it on Wi-Fi the day before you fly, leave it switched off, and switch it on after landing. If it does not connect within five minutes, check three things in this order — data roaming on for the eSIM line, the eSIM set as the active data line, and the APN field. That sequence fixes the large majority of first-time failures, and it is the whole of what most people need to know.
This page is the screen-by-screen version, written for someone who has never installed an eSIM. If you are still choosing a plan, the price-per-gigabyte breakdown and the provider selection logic are the two decision pages. If you want the country rules first — registration, VoIP, why 2G is gone — start with the UAE guide.
Before you buy: three checks that take two minutes
Ninety percent of “my eSIM does not work” complaints trace back to one of these three, and all three can be checked before you spend anything.
Check 1: does the phone have an eSIM chip? Dial *#06#. If an EID number appears on screen, the hardware is there. If nothing appears, the phone has no eSIM and no plan will change that. On iPhone you can also check Settings → General → About; a phone with eSIM shows an EID line. Model-level detail is in the eSIM compatibility check.
Check 2: is the phone carrier-locked? On iPhone: Settings → General → About → scroll to “Carrier Lock”. It should say “No SIM restrictions”. Anything else means the phone will accept its own carrier’s SIM and refuse a third-party profile — and the failure looks identical to a broken eSIM, which is why this check matters. On Android, the equivalent is usually under Settings → Connections → SIM card manager, or the model will state “unlocked” in About phone.
Check 3: how many SIM slots does the phone actually have? A dual-SIM phone can hold one physical SIM and one eSIM, or in some models two eSIMs. If you already use an eSIM for your home line, adding a travel profile may require removing something. Check before you buy, not at the airport.
A fourth check that is not about the phone: is the phone’s regional variant eSIM-capable? A handful of models sold in specific markets ship without eSIM even though the international version has it. The symptom is a missing “Add eSIM” menu — not an error, just an absent option. If you cannot find the menu after updating the OS, this is the likely reason.
The one thing to confirm about the plan itself
Read the line that says when validity starts. Plans either start at installation or at first connection in the UAE. If it starts at installation and you install a week early, you lose a week. If it starts on connection, installing early costs nothing. This single sentence is worth more than any feature comparison, and it is explained properly in the activation timing section in case you want the detail.
Dubai eSIM iPhone setup, screen by screen
This is the sequence for a current iOS version. Menu labels shift slightly between versions, so match on meaning rather than exact wording.
Step 1: install the profile (do this on Wi-Fi, at home).
- Open Settings → Cellular (or Mobile Data).
- Tap “Add eSIM” or “Add Cellular Plan”.
- Choose “Use QR Code” and point the camera at the QR code in your provider’s email.
- When the phone identifies the plan, tap “Continue”, then “Add Cellular Plan”.
- Label it — type “Dubai” so you can find it later in a list.
If the camera will not read the code, choose “Enter Details Manually” and type the SM-DP+ address and activation code from the same email. This is why you keep that email.
Step 2: configure the two lines before you fly.
- Go to Settings → Cellular → Cellular Data. Select your new Dubai line. This is the “which line carries internet” setting.
- Go back one screen to “Default Voice Line”. Leave this on your home SIM, so calls and SMS continue to arrive on your normal number.
- Tap the Dubai line → “Data Roaming” → switch it on. A travel eSIM in the UAE is a roaming profile. Leaving this off is the single most common cause of landing with no internet.
- Still on the Dubai line’s screen, switch “Turn On This Line” off until you land. This prevents the profile registering in a third country during a connection and starting its clock early.
- Go to Settings → Cellular → “Allow Mobile Data Switching” and switch it off. This stops the phone silently moving data to your home SIM when the eSIM signal is weak, which is how people come home to a roaming bill.
Step 3: after landing.
- Settings → Cellular → tap the Dubai line → “Turn On This Line” on.
- Wait two to five minutes. The status bar should show signal bars and a carrier name.
- Open a map. If tiles fill in, you are done.
What you should see when it works: in Settings → Cellular, two lines are listed, one labelled with your home carrier and one labelled “Dubai”. Under “Cellular Data”, the Dubai line has a tick. The status bar may show two sets of bars. That is normal on a dual-SIM phone.
The iPhone-specific traps
“Cellular Data Switching” left on. This is the trap that produces surprise charges. It exists to keep data flowing when one line is weak, and it will happily use your home plan’s roaming data to do it. Turn it off.
Line labels that make no sense later. If you install two travel profiles over a year and label both “eSIM”, you will not know which is which. Label by destination.
Focus mode and low data mode. iOS offers “Low Data Mode” per line. It is worth knowing about if you are on a small plan, because it defers background updates. It also occasionally makes an app appear broken, so if one app is misbehaving, check whether low data mode is on for that line.
Deleting the profile to “start fresh”. Do not. The QR code is usually one-time, and a deleted profile may not reinstall. If something is wrong, fix the settings instead. The the activation errors walkthrough covers the cases where deletion is genuinely the answer.
Android setup: Samsung, Pixel and the rest
Android’s menu paths differ by manufacturer, but the four concepts are identical: install, choose the data line, enable roaming for that line, choose the voice line.
Samsung (One UI).
- Settings → Connections → SIM card manager.
- Tap “Add mobile plan” → “Add using QR code”, scan.
- Once added, under “Preferred SIMs”, set “Mobile data” to the new eSIM and “Calls” and “SMS” to your physical SIM.
- Tap the new eSIM → enable “Data roaming”.
- Leave the eSIM switched off until you land, if the toggle is available; otherwise remove it and reinsert after arrival.
Google Pixel.
- Settings → Network & internet → SIMs → “+” → “Download a SIM instead?” → Next.
- Scan the QR code.
- When asked “Use this SIM for mobile data?”, choose the new eSIM.
- Settings → Network & internet → SIMs → the new eSIM → enable “Roaming”.
Other Android brands. The path is usually Settings → Network → SIM / Mobile network → Add eSIM. Xiaomi, Oppo, Vivo and Honor all support eSIM on selected models only, and often only on global variants. If the option does not exist, the hardware or the regional firmware does not support it.
What “works” looks like on Android: the quick settings panel shows the mobile data icon with the new carrier name when you pull down, and Settings → About phone → SIM status shows the eSIM as active with a network state of “Connected”.
The Android-specific traps
The “preferred SIM” setting silently resetting. Some Android builds reset the preferred data SIM after a reboot or a carrier update. If data stops working after you restart the phone, check this first.
Dual-SIM standby behaviour. On some phones, only one line can use 5G at a time. This is a hardware limitation, not a fault, and it usually resolves in favour of whichever line is set for data.
Aggressive battery optimisation. Android manufacturers vary in how hard they background-restrict apps. If a ride-hailing app misbehaves only on mobile data, battery optimisation for that app is worth checking.
The three settings that break a Dubai eSIM on arrival
Every first-time failure I have seen falls into one of these three. Check them in this order and you will fix most of it without contacting anyone.
Setting 1: data roaming off for the eSIM line. The eSIM shows bars, the carrier name appears, nothing loads. This is the number one cause, and it happens because travelers are trained at home to keep roaming off. For a travel eSIM the rule inverts: roaming must be on.
Setting 2: the wrong active data line. Both lines are connected, the phone is using the home SIM for data, and the home SIM has no data allowance in the UAE. The symptom is a phone that claims to be online and behaves as if it is not. Fix: set the eSIM as the data line, explicitly.
Setting 3: a blank or wrong APN. Most profiles auto-fill the APN. A minority need it typed in from the setup email. If the first two settings are correct and there is still no data, this is the third. The field is under Settings → Cellular → the Dubai line → Cellular Data Network on iPhone, and under Settings → Network → SIMs → Access Point Names on Android.
If all three are correct and it still fails, do the airplane-mode cycle: switch airplane mode on, wait ten seconds, switch it off, and give it two minutes. That forces a fresh network registration, which resolves a surprising share of arrival failures.
A SIM card for Dubai at the airport, and what it costs you in time
You have three routes at Dubai International, and they differ in time more than in money.
Route 1: buy a local tourist SIM or eSIM at a counter. Both operators run counters in the arrivals halls, and both sell tourist bundles from around AED 49 with data plus local minutes. The process is: queue, present passport and entry stamp, complete verification (for a first-time visitor this is done at the desk, not online), receive a QR code, scan it, wait for activation. Realistic total: 20–60 minutes depending on the bank of flights that landed with you.
Route 2: take the free arrival bundle. du advertises a free tourist eSIM with 10 GB valid for 24 hours, activated digitally, and e& runs a comparable visitor starter offer. It is a genuine freebie and genuinely useful for a short stay. It still involves the counter and the identity step, and it expires in a day.
Route 3: use the eSIM you installed at home. Zero minutes at the airport. Walk past the counters, get in the taxi queue, and check your messages.
The trade is straightforward: Route 1 and 2 buy you a UAE phone number and local call rates, at the cost of your first hour. Route 3 buys you speed and no queue, at the cost of having no local number. For a 4-day holiday, Route 3 wins almost every time. For a two-week stay with restaurant bookings and local calls, Route 1 earns its hour — the counter walkthrough has the details of what to ask for.
One practical warning about Route 1: the counter queue is worst when your flight lands in the early morning widebody bank, roughly 06:00–09:00. If you land then and you still want a local line, buy it later in the city at an operator store rather than standing in the airport queue.
Dubai SIM versus eSIM: which one for a first visit
A comparison that gets to the point, using the things a first-time visitor actually cares about.
| Dubai SIM card (physical) | Travel eSIM | |
|---|---|---|
| Getting one | Counter or store, passport, verification | Online, before you fly |
| Phone slot | Uses the physical SIM tray | Uses an embedded slot; home SIM stays in place |
| Losing it | Replaceable, but you need a store | Cannot be physically lost; deleting it is the risk |
| Switching phones | Move the card | Reinstall a profile, sometimes not possible with a one-time QR |
| Local number | Yes | No |
| Time to set up | 20–60 minutes | 3 minutes at home |
| Risk of no data on landing | Low, because it is activated in front of you | Low if installed correctly, higher if settings are wrong |
The physical SIM’s real advantage is that activation happens in front of a person who can fix it. The eSIM’s real advantage is that it happens before you are tired. For a first-time eSIM user, the honest recommendation is: install at home, test the settings by switching the eSIM on while still on the ground with Wi-Fi available, and confirm the status bar shows a network before you fly. That converts the eSIM’s one weakness into a non-issue.
If you are traveling with someone who is uncomfortable with settings menus, buy them a physical SIM on arrival and keep the eSIM for yourself. Two different solutions for two different people on the same trip is a perfectly good plan.
How to test your connection in 60 seconds
Do this after landing, before you leave the airport, while you still have Wi-Fi as a fallback.
- Confirm the carrier name. Status bar or quick settings should read e& or du. “No Service” means not registered yet — wait two minutes before touching anything.
- Turn off Wi-Fi. A phone that clings to airport Wi-Fi will look fine while the eSIM is broken. This is the most skipped step and the reason people discover the problem in a taxi.
- Load a map and pan it. Tiles filling in is the real test, better than any speed indicator.
- Send a message to someone who will reply. This tests the round trip, not just the download path.
- Open the app you will actually use first — Careem or Uber — and let it find your location. If it does, you have solved arrival.
If steps 1–5 pass, stop testing. There is nothing to gain from a speed test on a working connection at 2 a.m.
When the QR code will not scan or the profile refuses to install
Three specific failures happen often enough to deserve their own answer.
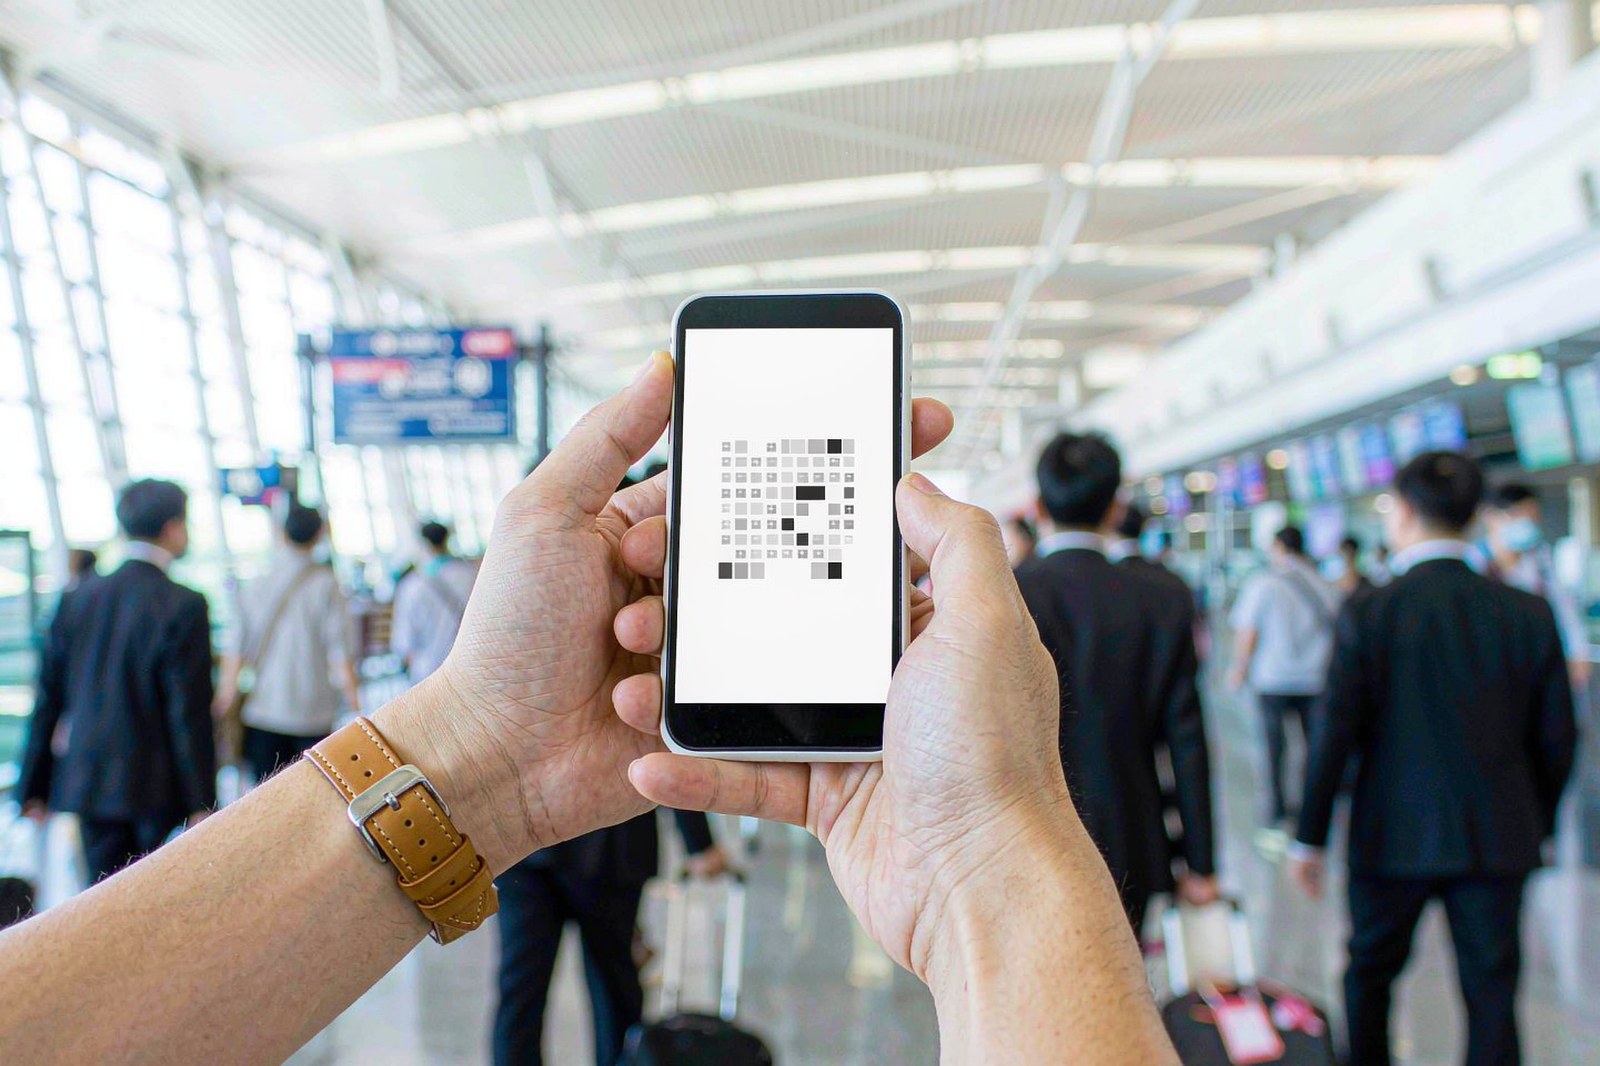
The camera will not read the code. QR codes on a phone screen are read by another phone’s camera, and the reading is fussier than people expect. Turn the displaying phone’s brightness to maximum, hold the two phones about 15 cm apart, and avoid a glossy screen at an angle. If the code is in an email on the same phone you are installing on, you cannot scan it — screenshot it, then open the screenshot in a photo viewer and scan from there, or use the manual entry option.
Manual entry. Both iPhone and Android accept the SM-DP+ address and the activation code as text. Copy them exactly; the address usually looks like a hostname, and the code is a long alphanumeric string. A single mistyped character produces an “invalid” error that looks like a provider problem and is a typing problem.
“This eSIM cannot be added” or a carrier-compatibility error. This usually means the profile was already installed once, or the phone is carrier-locked. If you have installed and deleted the profile before, the code may be single-use and you need the provider to reissue it. If you have never installed it, check the carrier lock first — a locked phone rejects third-party profiles with an error rather than a clear explanation.
“Profile already exists” after restoring from a backup. Restoring a phone from a backup can leave a ghost entry for a deleted eSIM. The fix is on the provider’s side: ask for a reissue, and explain that the profile was deleted from a device that has since been restored.
Two habits reduce the whole category: install while you still have the email open and a stable Wi-Fi connection, and do it on the phone you will actually travel with rather than a laptop that cannot scan.
What to do if it fails: the five-step ladder
Work down this list in order. Each step takes under a minute, and most people are done by step three.
Step 1: settings audit. Roaming on for the eSIM, eSIM selected as the data line, APN populated. This resolves the majority.
Step 2: airplane mode cycle. Ten seconds on, off, then two minutes of waiting.
Step 3: manual network selection. Settings → Cellular → the Dubai line → Network Selection → turn off automatic, pick the operator by name, and see whether it registers. If one operator fails and the other works, you have found the problem and a workaround.
Step 4: restart the phone. Not a cliché — it forces the modem to re-read the profile list, and it resolves cases that airplane mode does not.
Step 5: contact support with evidence. Screenshots of the settings screens, the status bar, and a speed test, plus your order reference. The evidence pack method explains what a support desk actually needs, and it shortens the conversation considerably.
What not to do at any step: delete the profile. It is the one action that can turn a fixable problem into a permanent one, because the QR code is usually single-use.
The 24 hours before your flight, hour by hour
Most first-time eSIM problems are timing problems, and timing is the easiest thing to fix because it costs nothing but a decision about when to do things. Here is the sequence that works, expressed as a schedule rather than a checklist.
24 hours out. Buy the plan. Confirm two things in the confirmation email: which network it uses, and when the validity starts. If validity starts at installation, note that you will install late rather than early — most providers state this in one line, and it is the difference between a full-length plan and a plan that expires on day four.
12 hours out. Install the profile on Wi-Fi. Label the line. Set the eSIM as the cellular data line, the home SIM as default voice, roaming on for the eSIM, mobile data switching off. Leave the eSIM switched off.
The same evening, 5 minutes. Test the configuration without travelling. Switch the eSIM on while connected to Wi-Fi and watch what the phone does. It will try to register, fail, and show “No Service” — that is correct and expected, because you are not in the UAE. What you are confirming is that the line exists, the settings held, and the phone did not throw an error. Then switch it off again.
2 hours out. Download the offline map for Dubai and Abu Dhabi. Install Careem or Uber and add a payment card. Save the hotel address in a note. Screenshot the QR code and the activation string into a cloud-synced note, not just the photo album, in case you change phones.
At the gate. Confirm the eSIM is still switched off, and that your power bank is charged. A phone at 30% on arrival is a phone that will die before the taxi rank.
On landing. Switch the eSIM on. Wait. Do not open ten apps at once; let the phone register on one network first.
The reason to test at 12 hours rather than at the airport is not superstition. It is that a settings mistake discovered at your kitchen table costs two minutes, and the same mistake discovered in an arrivals hall costs twenty.
Landing at 2 a.m. when nothing works
The late arrival is the hardest case, and it is common in Dubai because the airport runs around the clock. At 2 a.m. the airport’s commercial area is largely shut, the metro is closed, taxi supply is thin, and there is no queue of staff to ask.
What actually helps, in order:
Hotel Wi-Fi is your rescue line. Even if your data is dead, the hotel’s network gets you into the provider’s app, into a support chat, and into your booking emails. Before you leave the airport, make sure you know the hotel’s name in full and have the address saved as text — not as a map pin that requires data to resolve.
Ask the front desk before you go to the room. Hotel staff in Dubai deal with arriving guests all night and are usually pragmatic about it: they will let you use the lobby network to sort out a profile, and they will tell you where the nearest open shop is if you need a physical SIM at an odd hour.
Do not buy a SIM at 2 a.m. from anywhere except an official counter. Unofficial sellers operate around arrival halls in many cities. In Dubai the legitimate channels are the operator counters and stores, and outside opening hours the correct answer is to wait until morning rather than buy from someone who approaches you.
Use the airport Wi-Fi to message your driver or hotel. Free airport Wi-Fi is enough for a message and a map, even when it is too congested for anything heavier. Getting a message out is the whole objective at that hour.
Accept the temporary workaround. If the eSIM will not come alive, a metered taxi and a printed booking confirmation will get you to bed. Fix the data over breakfast with hotel Wi-Fi and daylight. The failure feels catastrophic at 2 a.m. and is usually a five-minute settings fix at 9 a.m.
One preparation that removes most of this risk: carry the hotel confirmation as a PDF in your phone’s files, not only in an email app that needs a login and a connection.
Six things to save offline before you leave
Most arrival stress comes from one cause: depending on a live connection for something you could have stored. These six cover almost all of it.
- The hotel address in text form, plus a screenshot. A map pin is useless without data; a text address is not.
- The hotel’s phone number, in case a driver needs directions and you cannot take a call.
- Your booking references — hotel, flight home, any timed attraction — as screenshots.
- The QR code and activation string for the eSIM itself, in a cloud note as well as the album.
- An offline map of Dubai and, if you are going, Abu Dhabi. Download the whole city; it is small.
- A note with three lines: the eSIM provider’s support URL, the plan name, and the order reference. This is the difference between a two-minute support chat and a twenty-minute search through email.
None of these take more than ten minutes total, and each one removes a specific way the first hour can go wrong. Travelers who do this tend to describe arrival as uneventful, which is the goal.
Traveling with children or a second phone
A few notes that only matter when you are managing more than one device.
Set up every phone at home, not at the airport. Two phones to configure in an arrivals hall with tired children is not a task anyone enjoys. Twenty minutes at the kitchen table solves it.
Give each phone its own plan if the children are old enough to use data independently. Two small plans cost roughly what one large plan plus hotspot costs, and they remove the failure mode where one parent’s phone dies and the family goes offline. The family arithmetic runs the numbers.
Decide in advance which phone is the hotspot. One designated hotspot, with the setting enabled and tested at home, prevents the airport conversation about whose phone should share.
Turn off cellular backup on children’s phones. A child’s phone backing up a week of photos and videos over your data plan is the most common way a family plan evaporates. It is one toggle, in Settings → Photos on iPhone and in the equivalent Android setting.
Leaving and coming back: what to do with the profile
If your trip includes a side trip to Oman or a return home before coming back, two things to know.
A UAE-only plan stops at the border. The profile will not work in Oman, and it will not “roam” into another Gulf country on a UAE-only product. If your itinerary crosses a border, buy a regional plan and check the country list — what changes at the Oman border is worth five minutes before you cross.
Switch the eSIM off before you leave the UAE, and back on when you return. Leaving it on in a third country may cause it to register on a partner network, and on some plans that consumes validity or produces unpredictable behaviour.
Do not delete it when you get home if there is any chance you will return within the plan’s validity. Switching a profile off costs nothing; reinstalling one can cost a support ticket.
Key takeaways: Install at home on Wi-Fi, leave the profile switched off, and switch it on after landing. Keep data roaming on for the eSIM line, set it as the active data line, and turn off mobile data switching. Dial *#06# to confirm the phone has an eSIM chip, and check the carrier lock before you buy. The airport counters sell real products but cost 20–60 minutes plus a passport step; a pre-installed eSIM costs nothing at the airport but gives you no local number. Test with Wi-Fi off and a map, and never delete the profile while troubleshooting.
Frequently asked questions
How long does it take to install a Dubai eSIM?
About three minutes on Wi-Fi, including scanning the code and labelling the line. The configuration — data line, voice line, roaming, data switching — adds another two minutes the first time. After you have done it once, it is a two-minute job on any future trip.
Do I need to install the eSIM before I fly, or can I do it at the airport?
You can do it at the airport if you have Wi-Fi there, but it is a worse plan. Airport Wi-Fi at Dubai International is busy during arrival banks, installing requires a stable connection, and any problem is then happening in an arrivals hall instead of at your kitchen table. Install at home and you land with a working line.
Why does my Dubai eSIM show bars but no internet?
In order of likelihood: roaming is off for the eSIM line, the eSIM is not the active data line, or the APN is blank. All three are settings, not faults. If all three are correct, cycle airplane mode to force a new network registration, then restart the phone.
Can I keep my home SIM active while using a Dubai eSIM?
Yes, and you should. The eSIM carries data while your home SIM stays available for calls and SMS, which is how you receive bank verification codes and messages from family. The setting that matters is “Allow Mobile Data Switching”, which should be off so the phone does not use your home plan’s roaming data when the eSIM signal dips.
Will the Dubai eSIM work in my iPhone if it is an older model?
From iPhone XR and XS onward, yes — those models have eSIM hardware. Older models do not. The exception is a carrier-locked phone, which will refuse a third-party profile regardless of model. Check both: the model year and the carrier lock status under Settings → General → About.
What if I need a Dubai phone number for restaurant bookings?
Then you need a local line, and no travel eSIM provides one. Buy a tourist SIM or eSIM from du or e& at a counter with your passport, or from an operator store in the city where the queue is shorter. Keep the travel eSIM as your data line if you prefer, and use the local number for calls.
Is it worth installing a second eSIM as backup?
For a trip with work commitments or a family relying on you for navigation, yes. A second small plan from a different provider costs a few dollars and gives you a fallback profile that installs in three minutes if the first fails. Phones hold several profiles; switching between them is a settings toggle, not a reinstall.
Do I need to change any settings after I get home?
Switch the eSIM line off, and set your home SIM back as the data line. Delete the profile only if you do not expect to return before it expires — and even then, there is no harm in leaving it installed and switched off. If you leave the eSIM as the active data line at home, your phone will try to use it and fall back to Wi-Fi, which is harmless but confusing.
The pre-flight checklist
- Dial
*#06#and confirm an EID number appears - Check Carrier Lock reads “No SIM restrictions”
- Buy the plan and confirm when its validity starts
- Install the profile on Wi-Fi at home
- Label the line “Dubai”
- Set the eSIM as Cellular Data, home SIM as Default Voice Line
- Turn data roaming on for the eSIM
- Turn “Allow Mobile Data Switching” off
- Leave the eSIM switched off until you land
- Screenshot the QR code and activation string into a cloud note
- Download the offline map
- Install Careem or Uber and add a card
If you would rather skip the settings hunt, Roami’s UAE setup email starts at $3.99, arrives with a setup email that includes the APN and both settings to check, and has human support through the arrival window when a first-time install goes sideways.